Development Bridging Wifi and Ethernet on a Raspberry Pi
This feels like a weird post to be making in 2022 because like... why would you need to bridge ethernet-to-wifi? What doesn't have Wifi nowadays? Well, several things, but in my case specifically - custom hardware on which I'm building embedded Linux distributions.
Any reasonable general purpose computer can/should/does have a built-in Wifi module, but this hyper custom hardware I work on won't necessarily have Wifi, because that's additional cost for no value in these applications. In a few months I'll write a breakdown of creating these custom distributions using Yocto or Buildroot, because it's surprisingly complicated to get started - and then reasonably straightforward to continue.
In the meantime though, I thought it'd be useful to post my experience creating this bridge. It's a lot easier than I had expected thanks to a few existing resources, but some of those resources are also slightly out-of-date or don't explain why we're doing these steps. To make life yet that much easier, I've also rolled this into an Ansible role.
Create the microSD Image
- A Raspberry Pi 4B running Raspberry Pi OS (Bullseye) - I use the Lite version since I create headless systems.
- A microSD card reader - I've been using this USB 3.0 Anker one for years, but I've been trying to get my hands on this USB-A and USB-C combo for a few weeks
- A microSD card - Because you're running a full OS, I recommend the fastest and most reliable microSD cards you can buy. I've recently purchased a bunch of these Sandisk 32GB U1/A1 cards for $8 CAD each
I should point out that these instructions apply to more than just Raspberry Pis. In reality, most/any single board computers, or even more generally - anything running a Debian-based Linux distribution - would work. But since Raspberry Pis are prolific and commonly used for these kinds of purposes with devs, it felt like they are a good starting point.
Normally I would recommend downloading your favourite image and then using dd
to write that image to a microSD card and then to add a custom
wpa_supplicant.conf
file and then touch ssh to get SSH enabled. If you make a mistake, you either need
to hook into a monitor and get out your keyboard.
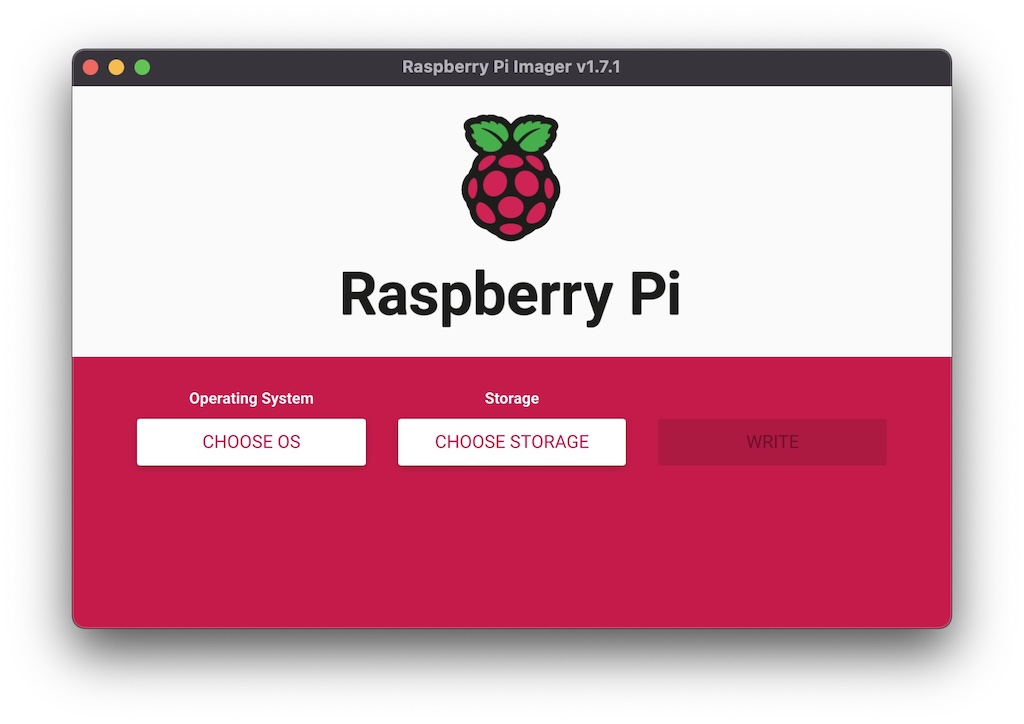
However, I recently started using Raspberry Pi Imager
for my headless images and it's much, much better. As you can see below, it has fields ready for
custom headless use cases (hostname, wifi, ssh, username/password, etc). Now, all it actually does
with this is to burn your image and then create a firstrun.sh in the boot directory,
but I'll take that win.
Select your OS
It doesn't particularly matter which OS you use, so long as it's Debian-based. The Raspberry Pi Imager has quick links to download several common Raspberry Pi OS (or Raspbian) images, some media player images (Kodi, etc), some gaming images (RetroPie, etc), and then some miscellaneous images.
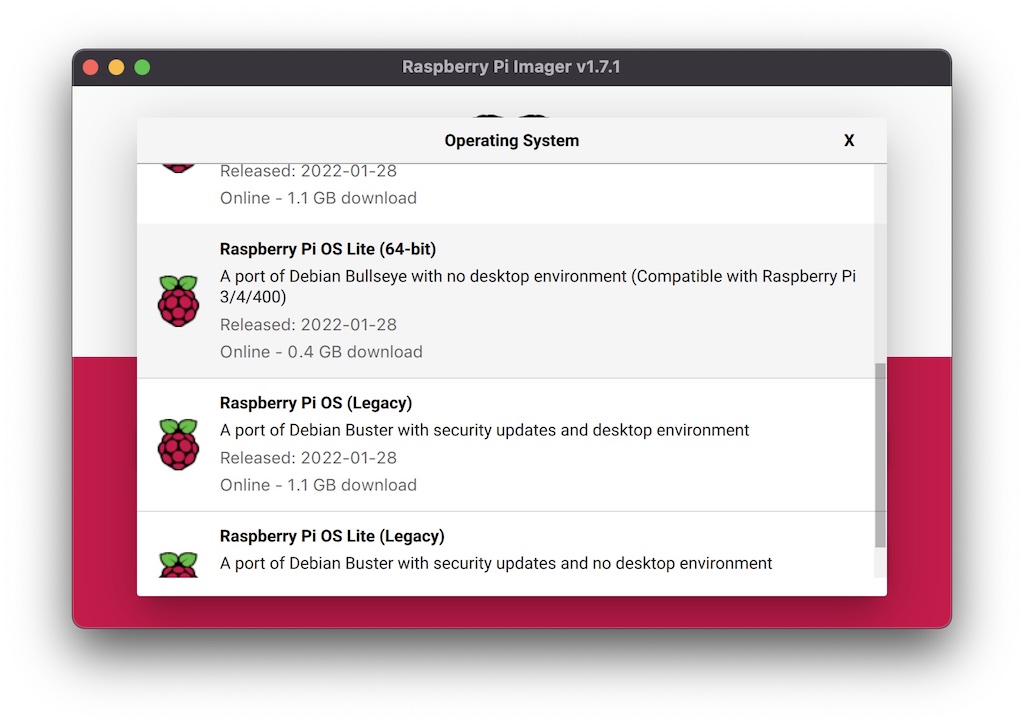
If you need to do something that requires using OMX Player, then you should consider using the Raspberry Pi OS (Legacy) image running on Debian Buster - which was the last to support OMX Player. Otherwise, stick with the latest and greatest (Bullseye, as of right now).
Otherwise, you just need to decide on headless (Lite) vs those with a desktop environment. That's entirely dependent on whether you need a mouse-based OS or not. Given that this is a ethernet-to-wifi bridge, headless works fine. As well, you can err on the side of Lite and then add packages later. Removing packages from the "full" distribution isn't frankly worth the effort.
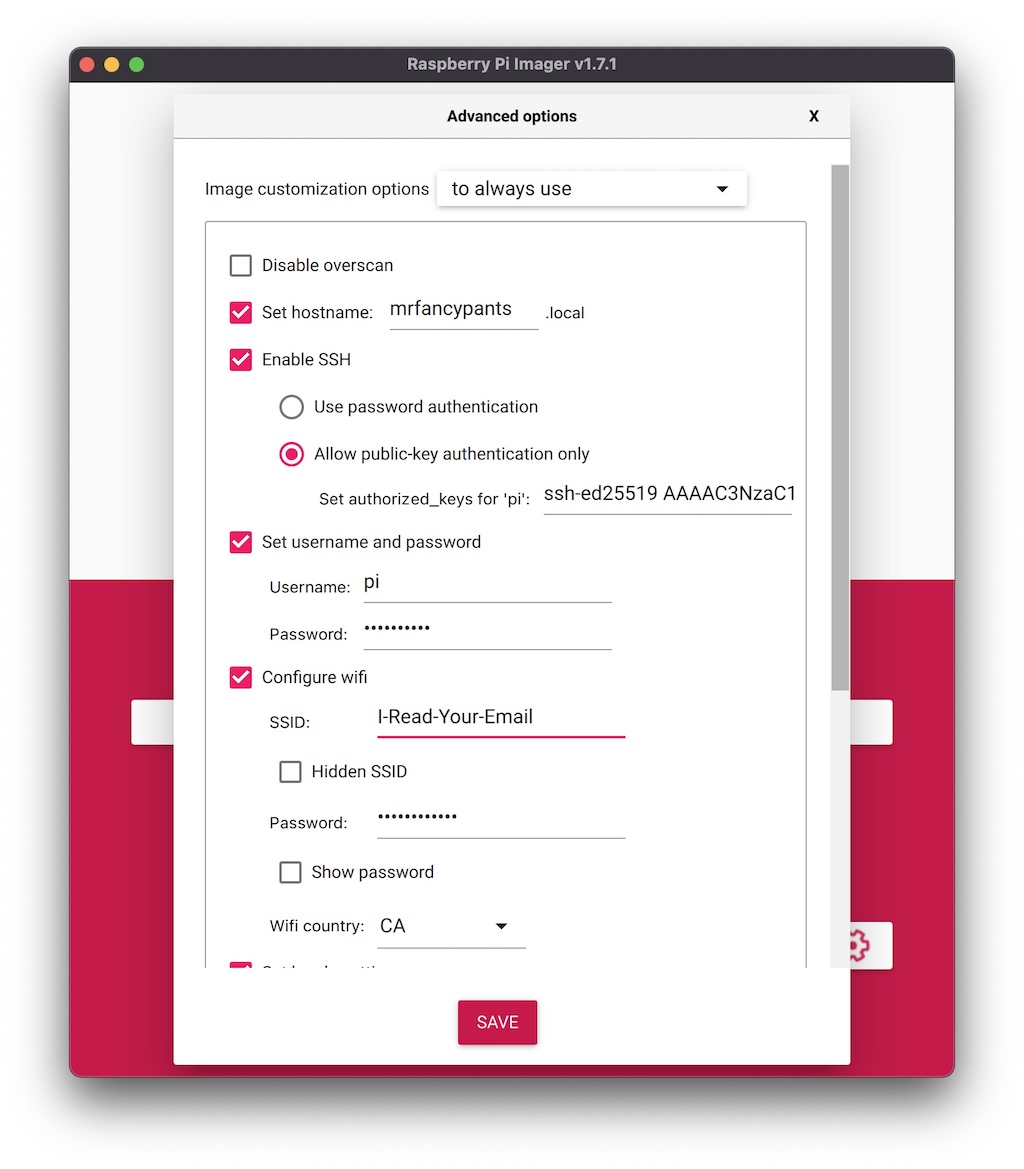
Setup your firstrun.sh
Using Raspberry Pi Imager, click the settings and setup whatever you want to happen on first launch. At minimum, setup your wifi SSID and password, and enable SSH (with your public SSH key if you have one ready to save typing in a password). Everything else is optional, but I always configure them to save a few steps. NOTE: If you're using anything other than the Raspberry Pi 4B, check the specs and make sure it supports 5G Wifi before you try to set that up. I've been burned by not using my 2.4GHz SSIDs in the past.
Write the image
From here, just select your SD card and then click write.
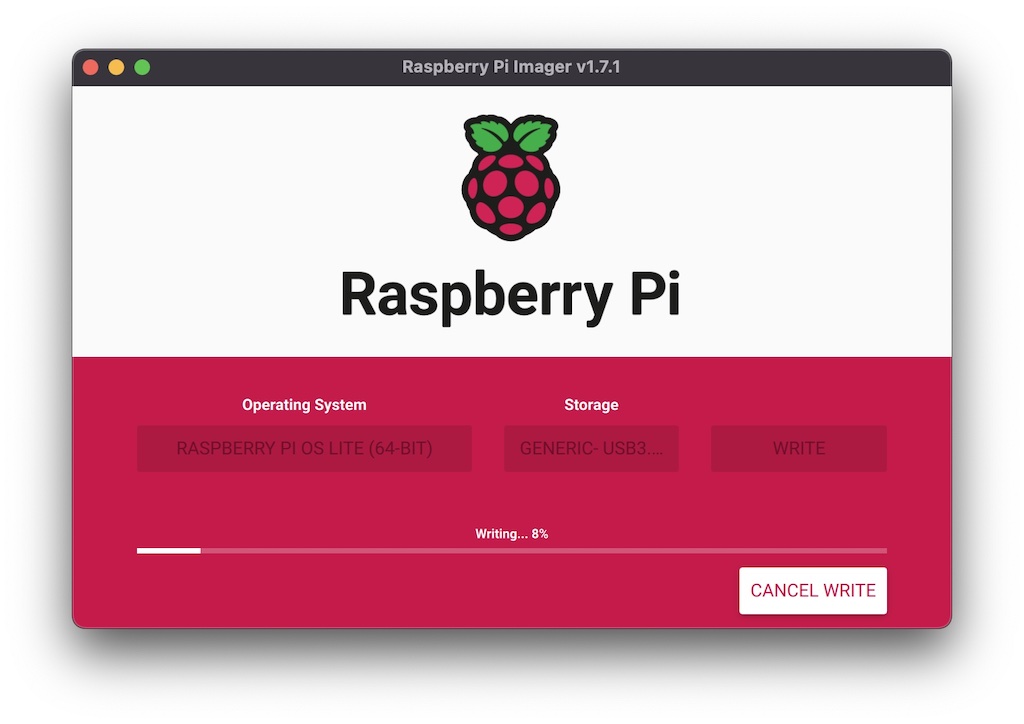
Once that is completed, plug the SD card into your Raspberry Pi, power up, and once it's connected to your Wifi - you'll be able to ssh into it using your hostname and ssh key/password.
For example, from my computer it would be ssh mrfancypants.local
Setup the Bridge
You can read through the following for a step-by-step explanation of what I'm doing, but you can also check out the Gist for a singular, non-automated script that you can read through. Alternatively, if you use Ansible for automation - check out the role.
But first, you'll need to know the names of your interfaces - if you're using the OS I
suggested, then you'll be using wlan0 and eth0. If not, run
ip a and check out the interface names.
Setup a static IP
Since your Pi will be functionally acting as a router for the private network attached to the ethernet port (very useful if you plug it into a switch, you can host a lot more devices rather than just 1), you'll want it to have a static IP. While you can practically use whichever IP addresses you want, you should probably stick with private address spaces.
The convention I use at home, which I just made up off the top of my head one day, is the following:
- 192.168.x.y - These are the address spaces that my routers like to use, so I tend to treat these as being connected to an internet-facing router
- 172.16.x.y - Docker networks tend to occupy this range by default, so I assume that anything with this on my network(s) are Dockerized containers
- 10.x.y.z - I use these ranges for all my custom work and I assign x,y,z per client, project, device so I can ensure that there is not (and will never be) overlap
For this post, I'll be using 10.10.10.z for these bridged devices.
nano /etc/dhcpcd.conf
# Add these fields with your desired IP address
> interface eth0
> static ip_address=10.10.10.1/24
> static routers=10.10.10.0

# This command can kill Wifi, so you're probably just as well to reboot instead
service dhcpcd restart
Enable IPv4 packet forwarding
I think this is pretty straight-forward. This change allows packet forwarding, but it only takes
effect after a reboot. If you want it to take effect immediately, for testing purposes, then run
this command as well sudo sh -c "echo 1 > /proc/sys/net/ipv4/ip_forward"
nano /etc/sysctl.conf
# Uncomment this line or add it to the bottom
> net.ipv4.ip_forward=1
Use iptables to setup data forwarding
iptables is used to configure packet filtering rules. They're unfortunately complicated, so I won't go too in-depth as I typically use other tools which use iptables under the hood. Essentially, you create rules to filter, match, and action your packets.
iptables -t nat -A POSTROUTING -o wlan0 -j MASQUERADE
iptables -A FORWARD -i wlan0 -o eth0 -m state --state RELATED,ESTABLISHED -j ACCEPT
iptables -A FORWARD -i eth0 -o wlan0 -j ACCEPT
Ensure iptables are run on boot
By default, iptables are wiped on reboot so you need to save the ones you create somewhere, and then reload them on each boot.
# Save the rules we just added
iptables-save > /etc/iptables.ipv4.nat

nano /etc/rc.local
# Add this line to the rc.local just before 'exit 0'
> iptables-restore < /etc/iptables.ipv4.nat
Setup dnsmasq to provide IP addresses
Since the Raspberry Pi will be acting as a router for all the new devices we connect over ethernet (especially through a switch), we need to provide IP addresses via dhcp. For this we'll use dnsmasq. It's pretty simple to use and can come in handy for other purposes, so it's also good to learn.
apt-get install dnsmasq

nano /etc/dnsmasq.conf
# Replace dnsmasq.conf with this
> interface=eth0                            # Use interface eth0
> listen-address=10.10.10.1                 # Specify the address to listen on (static ip_address from dhcpcd.conf)
> domain-needed                             # Don't forward short names
> bogus-priv                                # Drop the non-routed address spaces.
> dhcp-range=10.10.10.100,10.10.10.200,12h  # IP range and lease time (setting .100 to .200 as possible IPs)

service dnsmasq restart
Does it work?
In order to test if this even does anything, you'll need another device on your network somehow connected to the Pi. For me, this is either a custom embedded Linux device, or another Raspberry Pi. Once something is hooked up and using dhcp, you should be able to ping the Raspberry Pi router.
ping 10.10.10.1
And that's it!
What's the Gist?
I've created a Gist with all of the snippets put together. Again, note that the script is not automated, it requires manual editing along the way.
References
When first setting bridge up, I used the following as references - so all credit to them.